Estimated reading time: 8 minutes
Key Takeaways
- Moist, flavorful, and incredibly easy to make.
- The secret lies in using very ripe bananas for natural sweetness.
- A blend of warm spices elevates it from simple to sublime.
- Perfect for breakfast, a snack, or even dessert.
- Freezes beautifully, so you can always have a slice on hand.
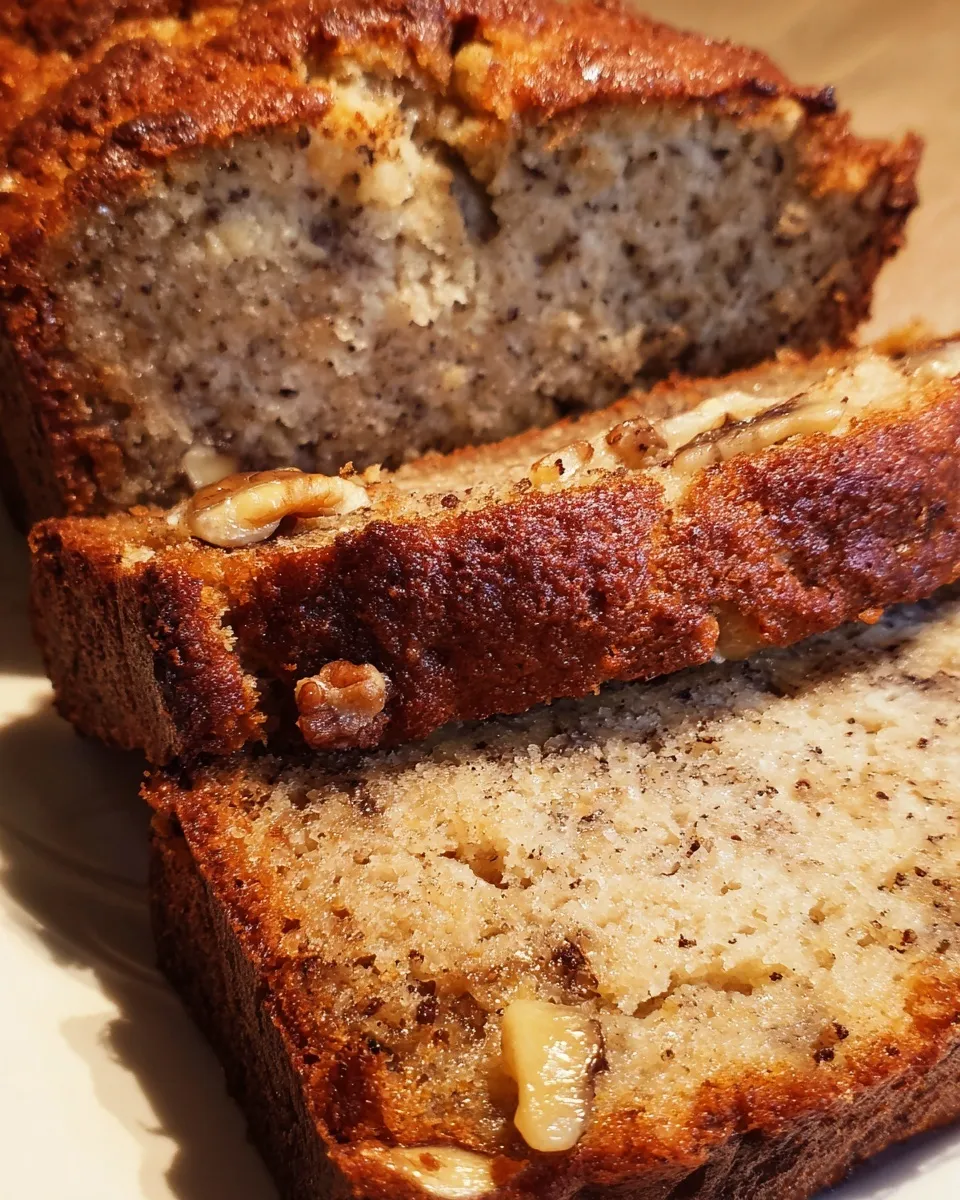
World's Best Banana Bread
Ingredients
Equipment
Method
- Preheat the oven to 350°F (175°C). Grease a 9x5-inch loaf pan or line it with parchment paper, leaving an overhang on the sides for easy removal.
- In a large mixing bowl, thoroughly mash the ripe bananas using a fork or potato masher until smooth.
- Stir the melted butter into the mashed bananas. Add the granulated sugar and mix until well combined and the mixture looks slightly lighter in color.
- Beat in the eggs one at a time, ensuring each egg is fully incorporated before adding the next. Stir in the vanilla extract.
- In a separate medium bowl, whisk together the flour, baking soda, salt, cinnamon, and nutmeg until evenly distributed.
- Gradually fold the dry ingredients into the banana mixture using a spatula. Mix just until no streaks of flour remain; be careful not to overmix.
- If using, gently fold in the chopped walnuts or pecans, distributing them evenly throughout the batter.
- Pour the batter into the prepared loaf pan and spread it into an even layer. Gently tap the pan on the countertop once or twice to release any large air bubbles.
- Bake in the preheated oven for 55 to 65 minutes. The bread is done when it is golden brown and a toothpick or cake tester inserted into the center comes out clean or with a few moist crumbs attached.
- Let the bread cool in the pan for 10 minutes, then transfer it to a wire rack to cool completely before slicing.
Notes
Table of Contents
- The World’s Best Banana Bread
- Key Takeaways
- A Little Story
- Why This Recipe Is Special
- Ingredients and Equipment
- Step-by-Step Instructions
- Tips and Variations
- Storing and Freezing
- Perfect Pairings
- Frequently Asked Questions
A Little Story
There’s a certain kind of alchemy that happens in a kitchen when bananas have reached that perfect stage of ripeness—you know the ones, spotted with brown, almost black in places, so soft they practically beg to be mashed. For me, that smell, that sweet, almost floral scent of overripe bananas, is the smell of home. It’s the smell of my grandmother’s kitchen on a rainy Saturday morning, a promise of something warm and comforting coming out of the oven.
She never followed a written recipe for her banana bread. It was a drizzle of this, a handful of that, all mixed together in a big, yellow ceramic bowl that had seen better days. I’d stand on a chair next to the counter, “helping” by mashing the bananas into a smooth pulp with a fork, my small hands working tirelessly. The reward was always Worth it: a thick, tender slice, still warm enough to melt a pat of butter, enjoyed with a glass of cold milk. This recipe is my homage to hers. It’s my attempt to capture that magic in measured cups and spoons, so you can create your own warm kitchen memories.
Why This Recipe Is Special
So, what makes this “The World’s Best Banana Bread”? It’s not just one thing, but a perfect symphony of simple elements. First, it’s unbelievably moist. We achieve this by using a generous amount of those super-ripe bananas and just the right ratio of butter. Second, the flavor is deep and complex, not just sweet. A hint of cinnamon and a whisper of nutmeg add a warmth that makes this bread feel like a hug from the inside.
It’s also forgiving. Forget to take the butter out to soften? No problem—we melt it. Worried about overmixing? I’ll guide you through the gentle folding technique that ensures a tender crumb. This is a recipe for bakers of all levels, from the novice who is just starting out to the seasoned pro who appreciates a truly flawless classic. It’s the kind of recipe you’ll come back to again and again, the one you’ll scribble down for friends who beg you for it after just one bite.
Ingredients and Equipment
Before we begin, let’s gather our tools and ingredients. Using simple, quality components is key here.
Ingredients
- 3 to 4 ripe bananas (about 1 1/2 cups mashed) – The spottier, the better!
- 1/2 cup unsalted butter, melted and slightly cooled
- 1 cup granulated sugar
- 2 large eggs, at room temperature
- 1 teaspoon pure vanilla extract
- 1 1/2 cups all-purpose flour
- 1 teaspoon baking soda
- 1/2 teaspoon salt
- 1/2 teaspoon ground cinnamon
- 1/4 teaspoon ground nutmeg
- 1/2 cup chopped walnuts or pecans (optional)
Equipment
- 1 large mixing bowl
- 1 medium mixing bowl
- Whisk
- Rubber spatula
- Fork or potato masher
- 9×5-inch loaf pan
- Parchment paper (optional, for easy removal)
Step-by-Step Instructions
Now for the fun part! Let’s transform these simple ingredients into something extraordinary.
Step 1: Prepare the Pan and Oven
Preheat your oven to 350°F (175°C). This is crucial for even baking. While the oven is heating, grease your 9×5-inch loaf pan with butter or non-stick spray. For absolute foolproof removal, I like to line the pan with a sling of parchment paper, leaving an overhang on the two long sides.
Step 2: Mash the Bananas
Peel your very ripe bananas and place them in the large mixing bowl. Using a fork or a potato masher, mash them until they are relatively smooth. A few small lumps are perfectly fine—they add little pockets of banana flavor! You should have about 1 1/2 cups of mashed banana.
Step 3: Combine the Wet Ingredients
Pour the melted (and slightly cooled) butter into the mashed bananas. Stir them together with a whisk or spatula until they are well combined. Next, add the granulated sugar and mix vigorously for about a minute. The goal is to get the mixture to look a little paler and well incorporated.
Step 4: Add Eggs and Vanilla
Beat in the eggs, one at a time. Make sure the first egg is fully combined into the banana mixture before adding the second. This ensures an even emulsion and a better texture. Finally, stir in the pure vanilla extract.
Step 5: Whisk the Dry Ingredients
In your separate medium bowl, whisk together the flour, baking soda, salt, cinnamon, and nutmeg. Whisking here does two important things: it combines the ingredients evenly, and it aerates the flour a bit, leading to a lighter bread.
Step 6: Combine Wet and Dry
This is the most critical step for a tender crumb. Add the dry ingredients to the wet ingredients. Now, using a rubber spatula, gently fold the mixture together. Use a broad, sweeping motion, scraping from the bottom of the bowl and folding over the top. Mix only until the last streaks of flour disappear. Do not overmix! A few lumps are okay.
Step 7: Add Nuts (If Using)
If you’re adding walnuts or pecans, now is the time. Sprinkle them over the batter and fold them in gently, just once or twice, until they are distributed.
Step 8: Bake to Perfection
Pour the batter into your prepared loaf pan and spread it out evenly with the spatula. Give the pan a gentle tap on the countertop once or twice to settle the batter and release any large air bubbles. Place it in the preheated oven and bake for 55 to 65 minutes.
The bread is done when it is a deep golden brown on top and a toothpick or a thin skewer inserted into the very center of the loaf comes out clean or with a few moist crumbs attached. If the top is browned but the center is still wet, you can tent the loaf loosely with aluminum foil for the last 10-15 minutes of baking to prevent over-browning.
Step 9: Cool Completely
Once baked, remove the pan from the oven and place it on a wire rack. Let the bread cool in the pan for about 10 minutes. Then, using the parchment paper sling or a knife around the edges, carefully lift the bread out of the pan and place it directly on the wire rack to cool completely. I know it’s hard, but wait until it’s fully cooled before slicing. This allows the structure to set and gives you those perfect, neat slices.
Tips and Variations
This recipe is a wonderful canvas for your own creativity. Here are some ideas:
Pro Tips for Success
- Banana Ripeness is Key: Can’t wait for your bananas to ripen? Place them on a baking sheet in a 300°F (150°C) oven for about 15-20 minutes, until the skins are black. They’ll be perfectly soft and sweet.
- Measure Flour Correctly: For the most accurate results, spoon the flour into your measuring cup and level it off with a knife. Don’t scoop directly from the bag, as this can pack in too much flour.
- Don’t Overmix: I’ll say it again! Overmixing develops the gluten in the flour and leads to a tough, dense bread.
Delicious Variations
- Chocolate Chip Banana Bread: Replace the nuts with 3/4 cup of semi-sweet or dark chocolate chips.
- Whole Wheat Banana Bread: Substitute 1 cup of whole wheat flour for 1 cup of the all-purpose flour for a heartier version.
- Streusel Topping: For a decadent twist, mix 1/4 cup flour, 1/4 cup brown sugar, 2 tbsp cold butter, and 1/2 tsp cinnamon with a fork until crumbly. Sprinkle over the batter before baking.
Storing and Freezing
This banana bread stores beautifully. Once completely cooled, wrap it tightly in plastic wrap or store it in an airtight container at room temperature for up to 2 days. For longer storage, you can keep it in the refrigerator for up to a week.
To freeze: Wrap the completely cooled loaf (or individual slices) tightly in plastic wrap and then a layer of aluminum foil. It will keep in the freezer for up to 3 months. Thaw overnight at room temperature or warm individual slices in the toaster oven.
Perfect Pairings
A slice of this banana bread is a delight on its own, but it can be elevated with a few simple pairings.
- For Breakfast: Enjoy a thick slice with a smear of creamy peanut butter or almond butter and a hot cup of coffee.
- For an Afternoon Snack: A simple pat of good salted butter melting into the warm bread is pure heaven, paired with a glass of cold milk.
- For Dessert: Take it over the top by toasting a slice and serving it with a scoop of vanilla bean ice cream.
Frequently Asked Questions
Can I use frozen bananas?
Absolutely! Frozen bananas work wonderfully. Simply thaw them completely at room temperature or in the microwave. They will release a lot of liquid, which you can drain off or just mix right in—it adds extra moisture.
My bread is browning too quickly on top. What should I do?
If the top is getting too dark before the center is cooked, simply tent the loaf pan loosely with a piece of aluminum foil for the remainder of the baking time. This will slow down the browning.
Can I make this recipe into muffins?
Yes! This batter makes fantastic banana muffins. Divide the batter among a lined muffin tin, filling each cup about 2/3 full. Bake at 375°F (190°C) for 18-22 minutes, or until a toothpick comes out clean.
Why did my bread sink in the middle?
A sunken center is usually a sign of underbaking or too much leavening. Make sure your baking soda is fresh and that you test for doneness with a toothpick right in the center of the loaf.
Can I reduce the sugar?
You can reduce the sugar to 3/4 cup without major issues. The bread will be less sweet and a bit less moist. I wouldn’t recommend going lower than that.
I hope this recipe becomes a staple in your kitchen, just as it is in mine. There’s nothing quite like the smell of banana bread baking to make a house feel like a home. If you make it, I’d love to hear how it turned out! Share your creations and tag me, and don’t forget to subscribe for more tried-and-true recipes delivered straight to your inbox.